Monday, June 17, 2013

RED, WHITE AND BLUE!!

I enjoy having a red, white and blue themed porch from Memorial Day through Labor Day. A lot of my decor had become faded due to the west sun my front porch receives, so what a good excuse to do some shopping!!


  • I had picked up the wicker chair and table a few months ago at the local thrift store for a whopping $25! 
  • The wagon was given to me by my in-laws due to a move they had to make...hate they had to move but I am enjoying the wagon.
  • The flag banners and the small flags were purchased at Home Depot and Wal Mart.
  • The metal flower was purchased at Hobby Lobby...and on sale of course.
  • Now I needed a pillow for the chair. After searching Pinterest for ideas, I spotted a bandana pillow in one of the posts. Already having a pillow form in the closet and bandanas in my hutch ( normally used for napkins when we have BBQ), I set to work on this pillow.
             Items you will need:
                 Pillow form (mine was a 14"x14")
           2 bandanas
           thread
           scissors or pinking shears


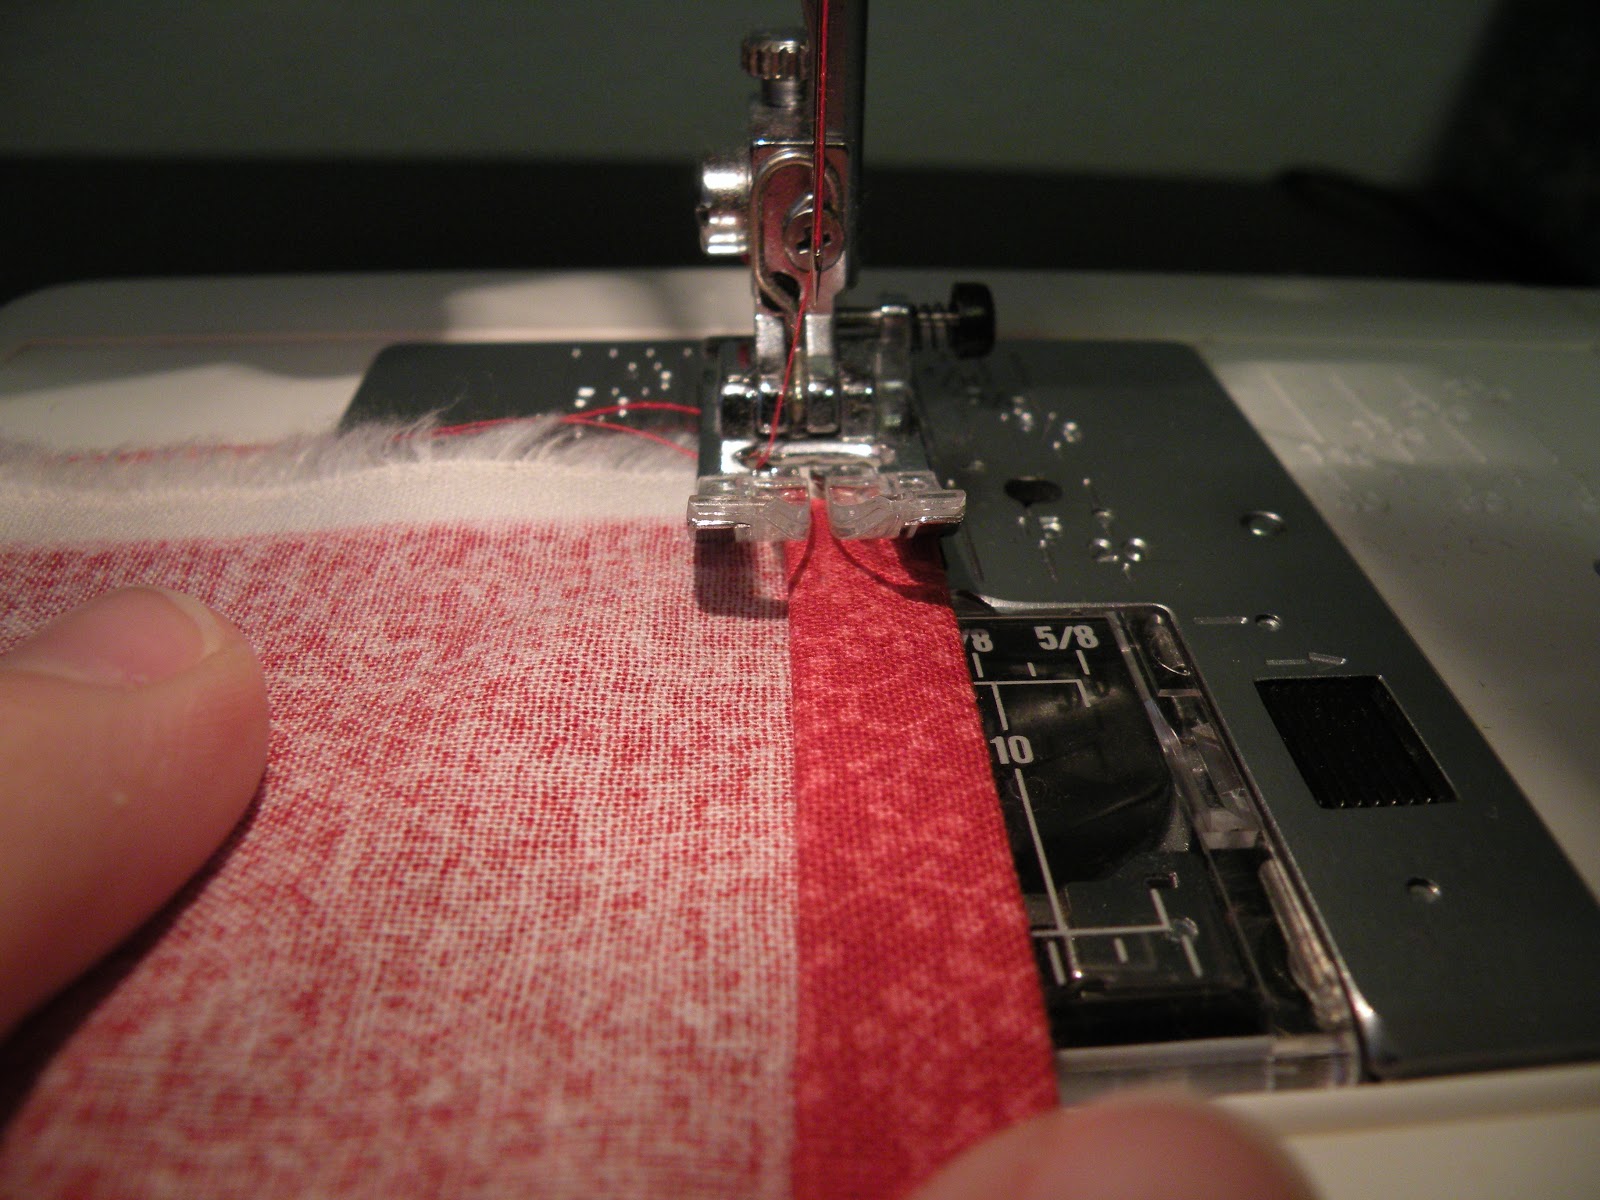
The bandanas were ironed and placed wrong sides together, matching up edges as much as possible.  Folding the bandanas in half and then half again to find the center and mark with chalk. I was able to follow the crease marks from the folds to create a "cross" to then measure out in each direction for where I wanted the seam.

Measuring out 7" from each line I created the outer lines to be a guide for the seam. Pinning three of the sides together to keep fabric from shifting...not pinning the fourth side to remind me not to sew it up!

After the seam in sewn on three sides, insert the pillow form, pin bandana together and SLOWLY sew a seam on the fourth side to close the opening. You can leave the pillow as is OR choose to cut with pinking shears/scissors to create 1" tabs around the border for knotting. Preferring the more ragged look, I cut slits about every inch (I just "eyed" it) and then made knots.


The pillow completed the porch! Now time to have a cookout so I can show off this RED, WHITE AND BLUE front porch!!


Tuesday, June 11, 2013

SOIL TEST

I had picked up a soil testing kit at one of the home improvement stores a few months ago. At the time, I had great intentions of getting the soil tested, gathering all of the needed supplements and integrating them into the yard this spring. However, since it is June 11, I think I missed the original target date.  Today presented with a little extra "free" time while the girls finished up Bible testing, perfect time for soil testing. (I had gathered soil a few days ago so that it could dry out.)


Starting with the pH test: This basically revealed that our pH is around 7.0 to 8.0. That is basically neutral. Not starting off so good.  I knew that our soil was basically strip farmed but I was holding on to the belief that it really couldn't be "that" bad.


Now on to the nutrient testing: Nitrogen, Phosphorous, Potassium (NPK)
And yes, it really was "that" bad. Basically finding that the soil that surrounds our home is worthless :( I tested it THREE different times...I couldn't actually believe that it had NOTHING!!
I guess in some ways it should make me feel better, right? I mean maybe it wasn't my gardening techniques after all!


Now the daunting task of knowing where to start in fixing this problem.  I think we will have to start with having it tilled up, ANYTHING AND EVERYTHING added, and a whole lot of patience.  Any and all suggestions are welcome. 

Sunday, March 10, 2013

I HEART APRONS

Made a valance for a kitchen window and a good piece of fabric left over...what to make?
Who doesn't love a new apron?  I have some aprons on hand...imagine that...so I grabbed one of my favorites to be a guide.


The leftover fabric was 2 yards long and around 20 inches wide. I cut 3 inches the length of the fabric to make the waistband. Mark the center of the band and 9 inches in each direction for later reference, mark with chalk or use a pin. Press down 1/4 inch around perimeter. For the ends, fold to make a triangle and press. I carefully cut some of the bulk out to make it easier to go through the machine.


On the short sides of the fabric, fold 1/2 inch, press.
Then fold 3 inches and press.
Take to the machine and edgestitch for the sides.


Run a long gathering stitch across the top of the apron. Stitch up to but not over the 3 inch portion on each side that was just sewn. Pull one of the threads to gather the center portion of the apron, working with material until gathers looks even and fits in the pre-marked area on the waistband.
Fold waistband over gathers.
Sew one long seam from one end of tie, thru                                               
                      gather, to the other end of the tie.


Finished product looks a little something like this!

A pocket can be added to the front if you prefer...I ran out of time and didn't get one on this time. I do like a pocket for my phone though :)  Maybe I have a small coordinating remnant and will go back and add one later.


Hope this tutorial was helpful and that you too can make a beautiful AND useful apron.

Sunday, March 3, 2013

SEWING SUNDAY

With some time on my hands, the fact that my mother-in-law is waiting on a valance for her kitchen window, and the husband and daughter are busy building on the new green house, I decided to sew!

A valance is really a beginner project and all of the measurements I will list can be altered.
The window I was working with was 36 inches wide. Wanting to make a really full valance I purchased 4 yards of fabric.

Start by washing, drying, and ironing your fabric.
For a 16 inch valance, cut a 23 inch strip the length of the fabric.

On the 23 inch sides, fold and press at 3/4 inches. This will make a crease that you will then fold in half again to make a double folded seam. This just tucks the raw edge in the seam so that you don't see the raveling that will occur when and if you have to wash the valance.


Along the edge that you determine to be "the top", fold down 1/2 inch and press. Then fold down 4 inches of fabric and press again. Make an edgeseam to form a the rod pocket.  This is one of the areas that can be altered depending on the width of your curtain rod. I wanted to have a ruffle above the curtain rod, hence the 4 inch space.


Mark 1 1/2 inches down from the top for a seam if you would like to have a ruffle above the rod. Then stitch down your line!

Time to make the hem. Again, fold down 1/2 inch and press. Then fold down an additional 2 inches and edgestitch.  As a reminder, you always want to press after you make a seam to set the stitches.

This is the finished product...in my kitchen window....maybe I'll keep this one and make hers later :)


Matching napkins with the left over fabric will be nice or maybe an apron?
Would love to pictures of your projects if you have found this tutorial helpful!!

Wednesday, January 30, 2013

LOVE IS IN THE AIR


We do not have a fireplace in the main living room, and I like to decorate this shelf as if it was a mantle.
I put this LOVE vignette together with items I already had around the house and a few additions that were purchased at the dollar store!
The LOVE banner was made from a roll of 9 inch burlap, aqua thread, pink fabric scraps, fusable interfacing and a piece of twine. I marked off 5 inches to make the individual pennants. The new serger I got for Christmas made edging each pennant a breeze! As you can see, I used an aqua thread for some contrast and the fact that I am obsessed with this color.  I used my letter drawing skill, that was perfected throughout high school, to draw hearts and L-O-V-E onto my pink fabric. I did apply light-weight fusable interfacing to add some bulk before sewing the letters and hearts to the burlap with a zig zag stitch.  Next fold the top edge of the pennant over a piece of twine and stitch closed.  Super easy and super cute!
The small frames were made from sheet music, a small heart punch and a larger hand drawn heart from card stock. Put them in simple black frames and voilà!
The red water pail was in the closet and the only purchase I made was at Dollar Tree for the pink heart piks that I placed in the pail.


Wednesday, January 9, 2013

WHAT'S FOR DINNER?


It is a cold rainy day here in Texas and that makes it time for comfort food in this home!
One of our all time family favorite comfort meals is Mexican Lasagna, so I though it would be nice to share. This meal is quick, easy and enough to have left overs for tomorrow's lunch...always a bonus.

Ingredients:
Approximately 8-10 flour tortillas, depends on how overlapped you lay them
1 pound ground meat
1 small/medium onion
1 can Rotel
1 can Ranch Style Beans
1 can Cream of Chicken soup
Velvetta cheese


Preheat oven to 350 degrees.

I use my handy, dandy Pampered Chef pizza cutter to cut the flour tortillas into about 1" strips.
Brown the onion and ground meat, drain off any liquid/fat.  Combine meat/onion, Rotel, Ranch Style Beans and soup and mix well.  (I normally use the smaller can of Ranch Style Beans but this is what I had...it will just have more beans this time!)

Spray 9x13 pan with nonstick spray...or 2 8x8 pans if you want to have a make one/freeze one meal. Place one layer of tortilla strips, half of the meat mixture, and slices of velvetta. Repeat layers.  We are a family of 3 and this meal goes a long way, so I did the make one/freeze one version tonight.

Bake uncovered for 30 minutes or until bubbly around the edges. Let rest for 10 minutes before serving...mostly so that you don't burn the roof of your mouth.

Sliced avacado, tomato, sour cream, jalapeños or pico de gallo are nice additions if I have them on hand. Tortilla chips and salsa are a must!!

Tuesday, January 1, 2013

HAPPY NEW YEAR!!


After a fun filled evening of Just Dance 4 and our tradition of sushi dinner, we were a little late to rise. Having a less than 60 degree day also means I was quick to get a fire going, but that is about as far as I have made it :)

In starting a new year, I tend to look back at the past one first. 


  • The first quarter of 2012 was fairly quiet. I began officially "couponing". I became a student of Coupon Divas, created a binder and got serious about saving money.  I finally got to see Wicked with one of my besties! I helped chaperone a choir trip to Chicago. We got to see the river turned green for St.Patricks Day, so cool. My prayers were answered for this trip and we had no boy/girl issues and unseasonably warm weather.  I convinced my husband that we needed chickens! He built an awesome coop and we purchased 6 chicks from Farm and Tractor Supply.  I met more neighbors over the next few months than I have met in 8 years of living in this neighborhood. Everybody wanted to know what the heck we were up to...haha  I think I am officially the "Crazy Lady" of the neighborhood now.


  • The second quarter involved cutting my work schedule from 3 days a week to 2 days. I was starting to contemplate home schooling as an option for our daughter. Said daughter then qualified for the State Gymnastic meet in vault, which made me hesitant to take her out of public school. I had my hubby on a roll and he built 5 raised beds for gardening.  My husband and I took a 5 day cruise and reconnected on a whole new level thanks to E.L. James and 50 Shades of Grey.

  • Third quarter my daughter got her driving permit and I did not have to go to jail over it! The quintessential government employee almost felt the wrath of my East Texas roots...my blood pressure raises just typing about it now!!!  She also started her sophomore year of high school. I took my last trip to Six Flags Over Texas....in July anyway. Crazy hot and crowds of people are not my idea of fun and happiness. Our family adopted a dog from the local animal shelter, named him Gunner and let the fun begin!! Last but not least, we celebrated our 19th wedding anniversary.

  • Fourth quarter, I TURNED THE BIG 4-0!  I planned a 6 day trip to Broken Bow,OK with the intent to reflect, read, hike and be one with nature. Well, 3 days into the trip and I had read my book, read all the magazines I had brought, took a 6 hour driving trip along the Talimena Scenic Drive, reflected and I was ready to come home. My loving man is so understanding and we came home on day 4. Through a series of events at work, I started working just one day a week...wonderful!  I lost my patience and did take my daughter out of public school and started the homeschooling process. It has been a lot of work, but well worth every minute.  Learned many things from YouTube including making apple butter in the crock pot, homemade bread, woodburning techniques and how to work my new serger.  I did save a total of $2011.55! I wish I would have looked at that total before today....I would have saved .45 on something to make it 2012...oh well. (Yes, I am that person that had a tally of all the savings I had accumulated.)
In review, I find that this was a year of learning how to adapt. Life is constantly changing and I have had to step out of my comfort zone often. Some of those steps were not as graceful as I would have liked, but nonetheless I survived.


I hope 2013 is balanced, happy and productive. Happy New Year's to you and yours!