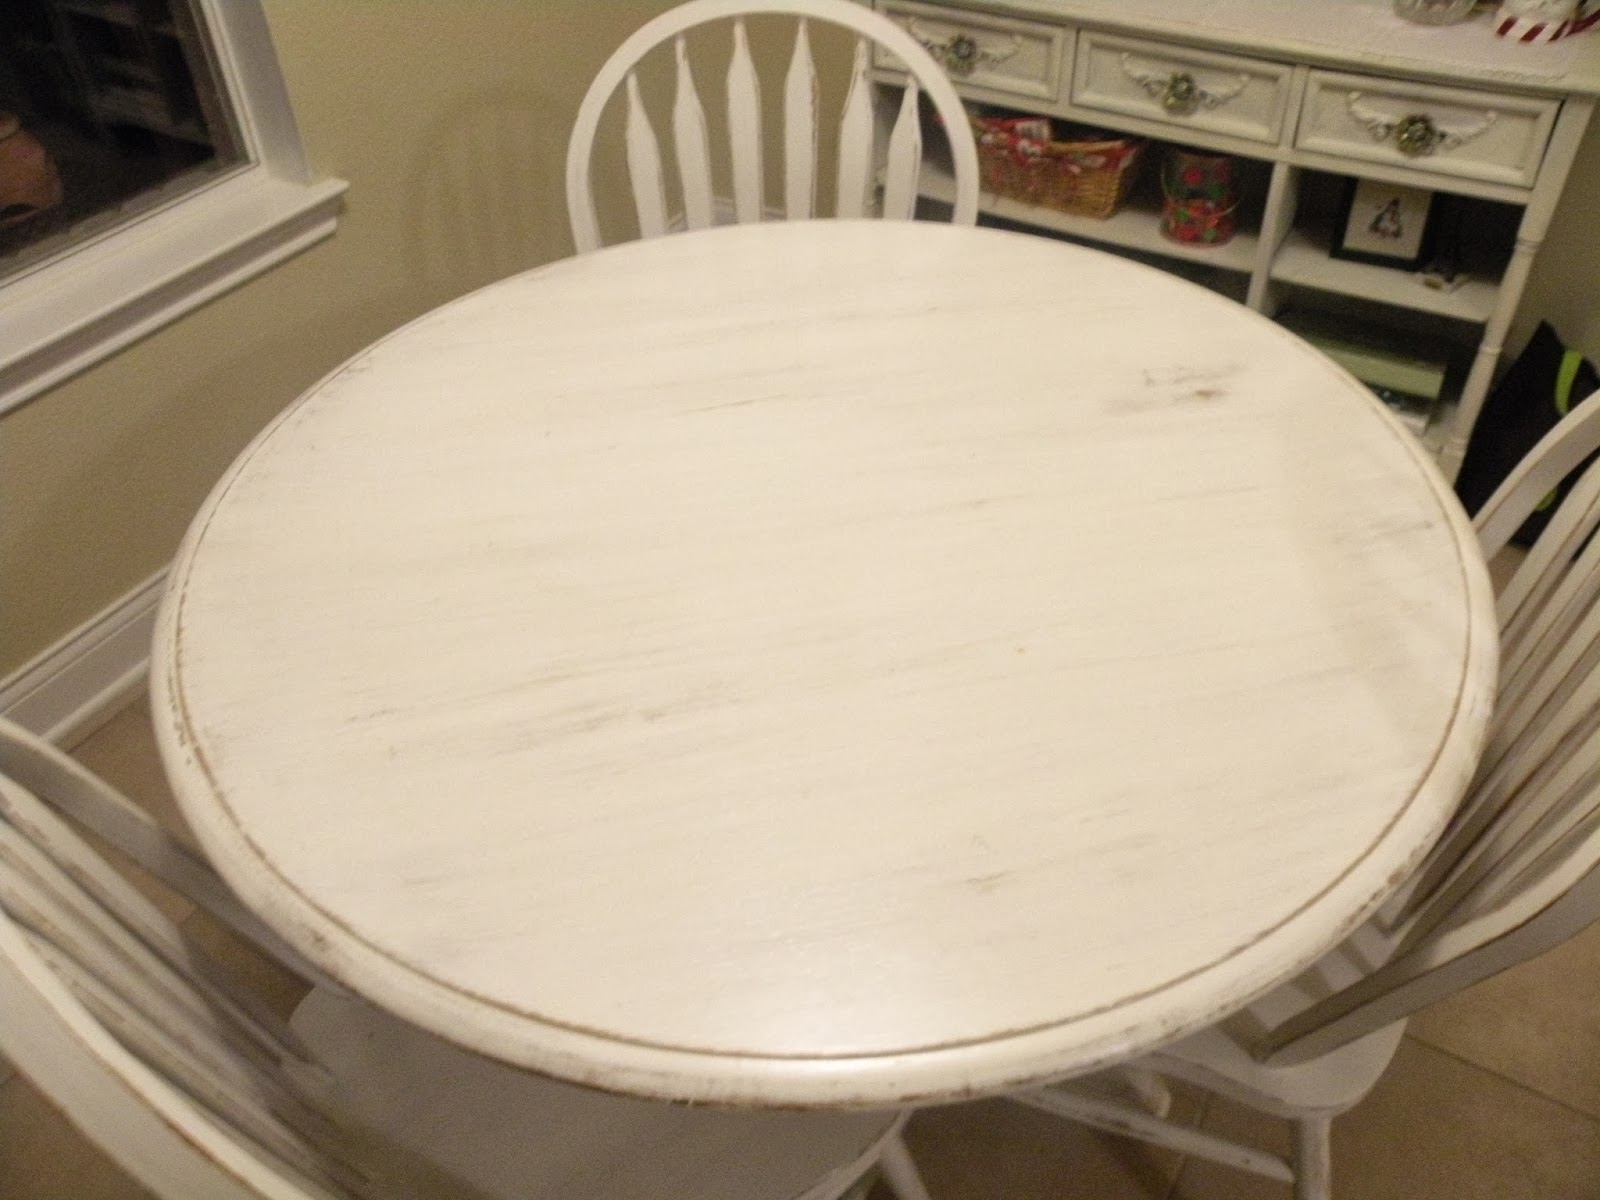
The table held up well for the 10 years of daily use, however, the finish on the top was worn through as well as some of the backs of the chairs. One of the chairs was lost due to a husband that loves the rock back at the end of the meal as we finish the conversation. Having just the three chairs has been nice, it reminds me that our family is small and that meals at the table are important.
- The table and chairs were first stripped using a spray on stripper. There are precautions that should be taken when using this method, so take the time for safety in this step!
- The table and chairs were then sanded with 60 grit coarse sand paper and wiped free of dust. This coarse sand paper was used during each step that sanding was needed. (you can see the one primed chair...it dawned on me at that point to go grab the camera!!)
- Next, one coat of primer was painted onto all four pieces and allowed to dry for 24 hours. Letting primer and paint dry completely in between each coat is important. Try not to rush the process...it's hard, I know!
- After allowing the primer to dry, all four pieces were lightly sanded and wiped free of dust.
- Three coats of off-the-shelf ultra white interior eggshell paint were applied. One quart was more than enough for my table and 3 chairs. Just a regular 'ol paintbrush was used for this project. The brush strokes were visible, but this would add to the rustic/shabby chic look.
- After each coat...let dry for 24 hours, lightly sand, and wipe free of dust.
- Once the last of three coats of paint dried, the entire project was sanded. Extra sanding was done on almost all the edges of each piece, the table top was roughed up as well.
- Wipe every nook and cranny, the next step is sealing and you don't want dust under the sealer!
- Polycrylic and 3 foam brushes were used to seal this project, using a new foam brush for each coat of sealer. The manufacturer recommended three coats, so that's what I did. Fortunately, it only needs a few hours to dry between each coat!!! Yippee!!

My family did not think this project was ever going to end...and sometimes, neither did I! It did finally come to an end and I LOVE the result.
I even found a beautiful vintage tablecloth on a recent girl's trip...it has a few imperfections and therefore, released any worry of messing up a white tablecloth!
So who needs new when you have a girl with sand paper, a paint brush, and willing to use elbow grease??? I have at least 3 more pieces to refinish...the car is never gonna get back in the garage!!
Thanks for taking a look...would enjoy seeing your projects...comment and leave a pic for all of us the enjoy with you :)


No comments:
Post a Comment