Who doesn't love a new apron? I have some aprons on hand...imagine that...so I grabbed one of my favorites to be a guide.

 The leftover fabric was 2 yards long and around 20 inches wide. I cut 3 inches the length of the fabric to make the waistband. Mark the center of the band and 9 inches in each direction for later reference, mark with chalk or use a pin. Press down 1/4 inch around perimeter. For the ends, fold to make a triangle and press. I carefully cut some of the bulk out to make it easier to go through the machine.
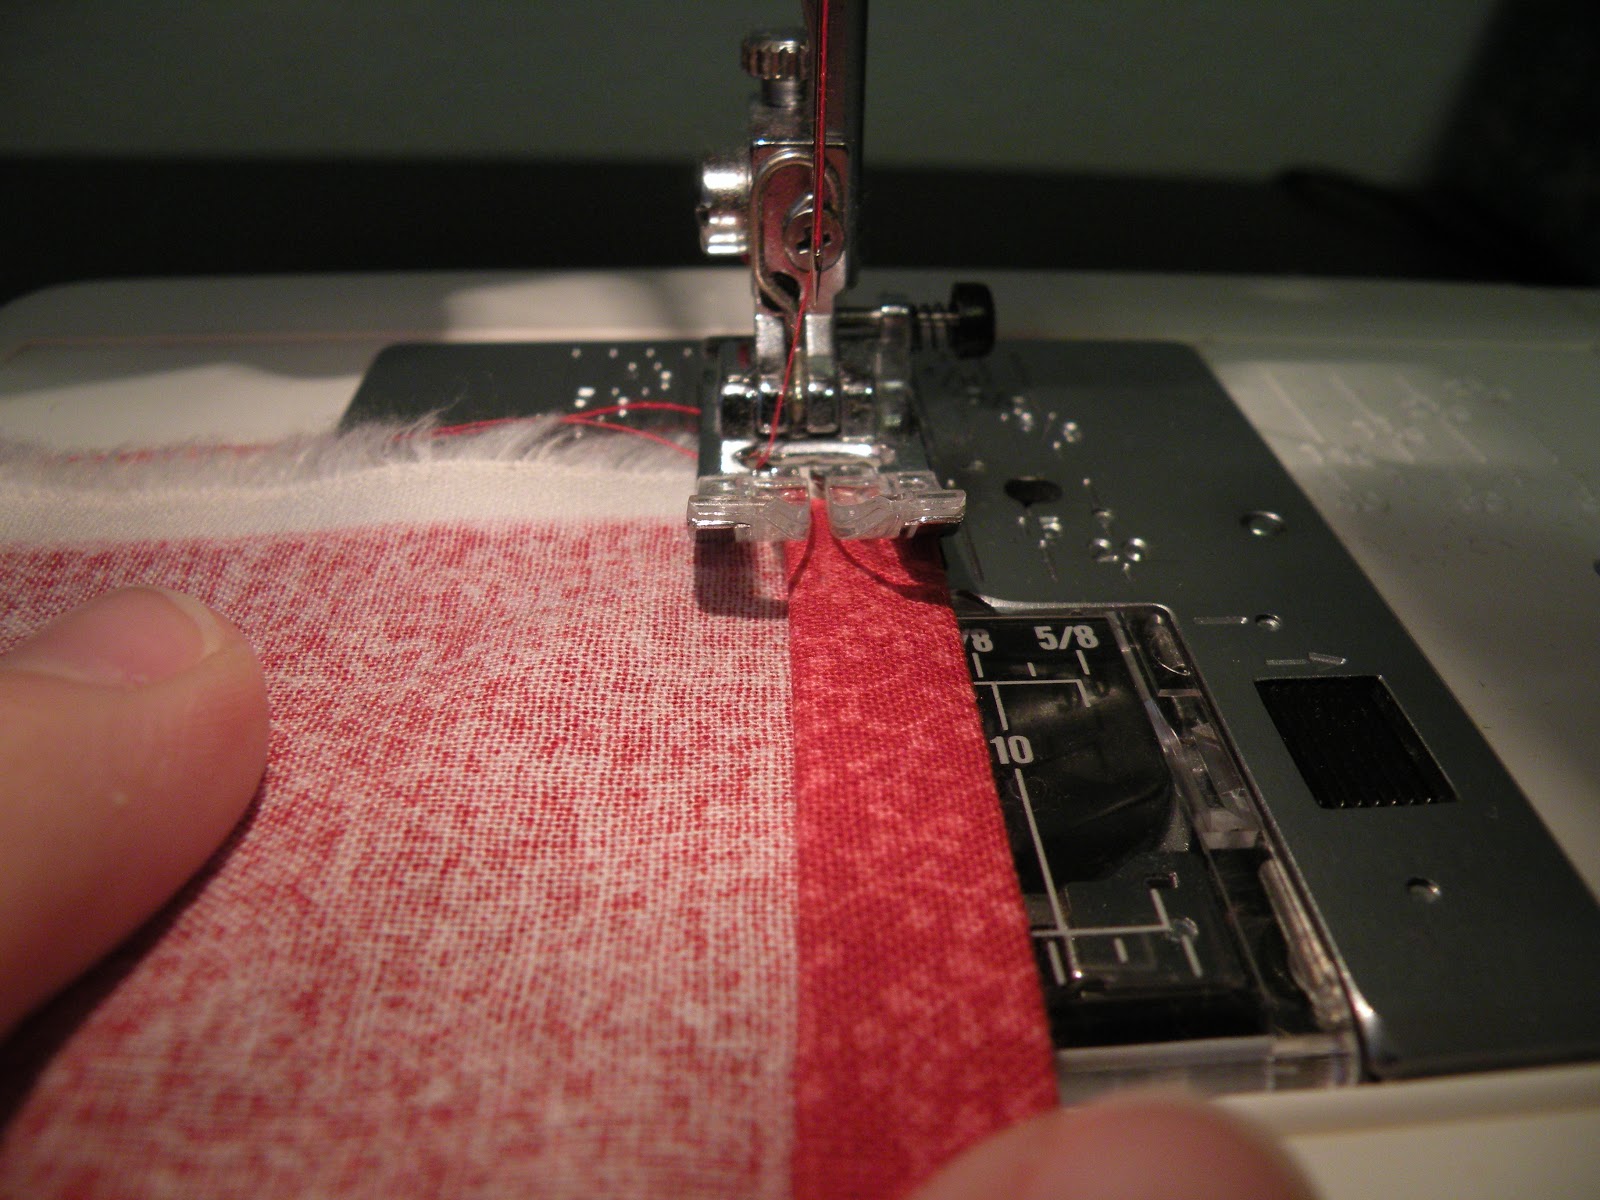
On the short sides of the fabric, fold 1/2 inch, press.
Then fold 3 inches and press.
Take to the machine and edgestitch for the sides.

Run a long gathering stitch across the top of the apron. Stitch up to but not over the 3 inch portion on each side that was just sewn. Pull one of the threads to gather the center portion of the apron, working with material until gathers looks even and fits in the pre-marked area on the waistband.
Fold waistband over gathers.
Sew one long seam from one end of tie, thru
gather, to the other end of the tie.


Finished product looks a little something like this!
A pocket can be added to the front if you prefer...I ran out of time and didn't get one on this time. I do like a pocket for my phone though :) Maybe I have a small coordinating remnant and will go back and add one later.
Hope this tutorial was helpful and that you too can make a beautiful AND useful apron.